
In this tutorial we will be showing you how to access and utilize the media library.
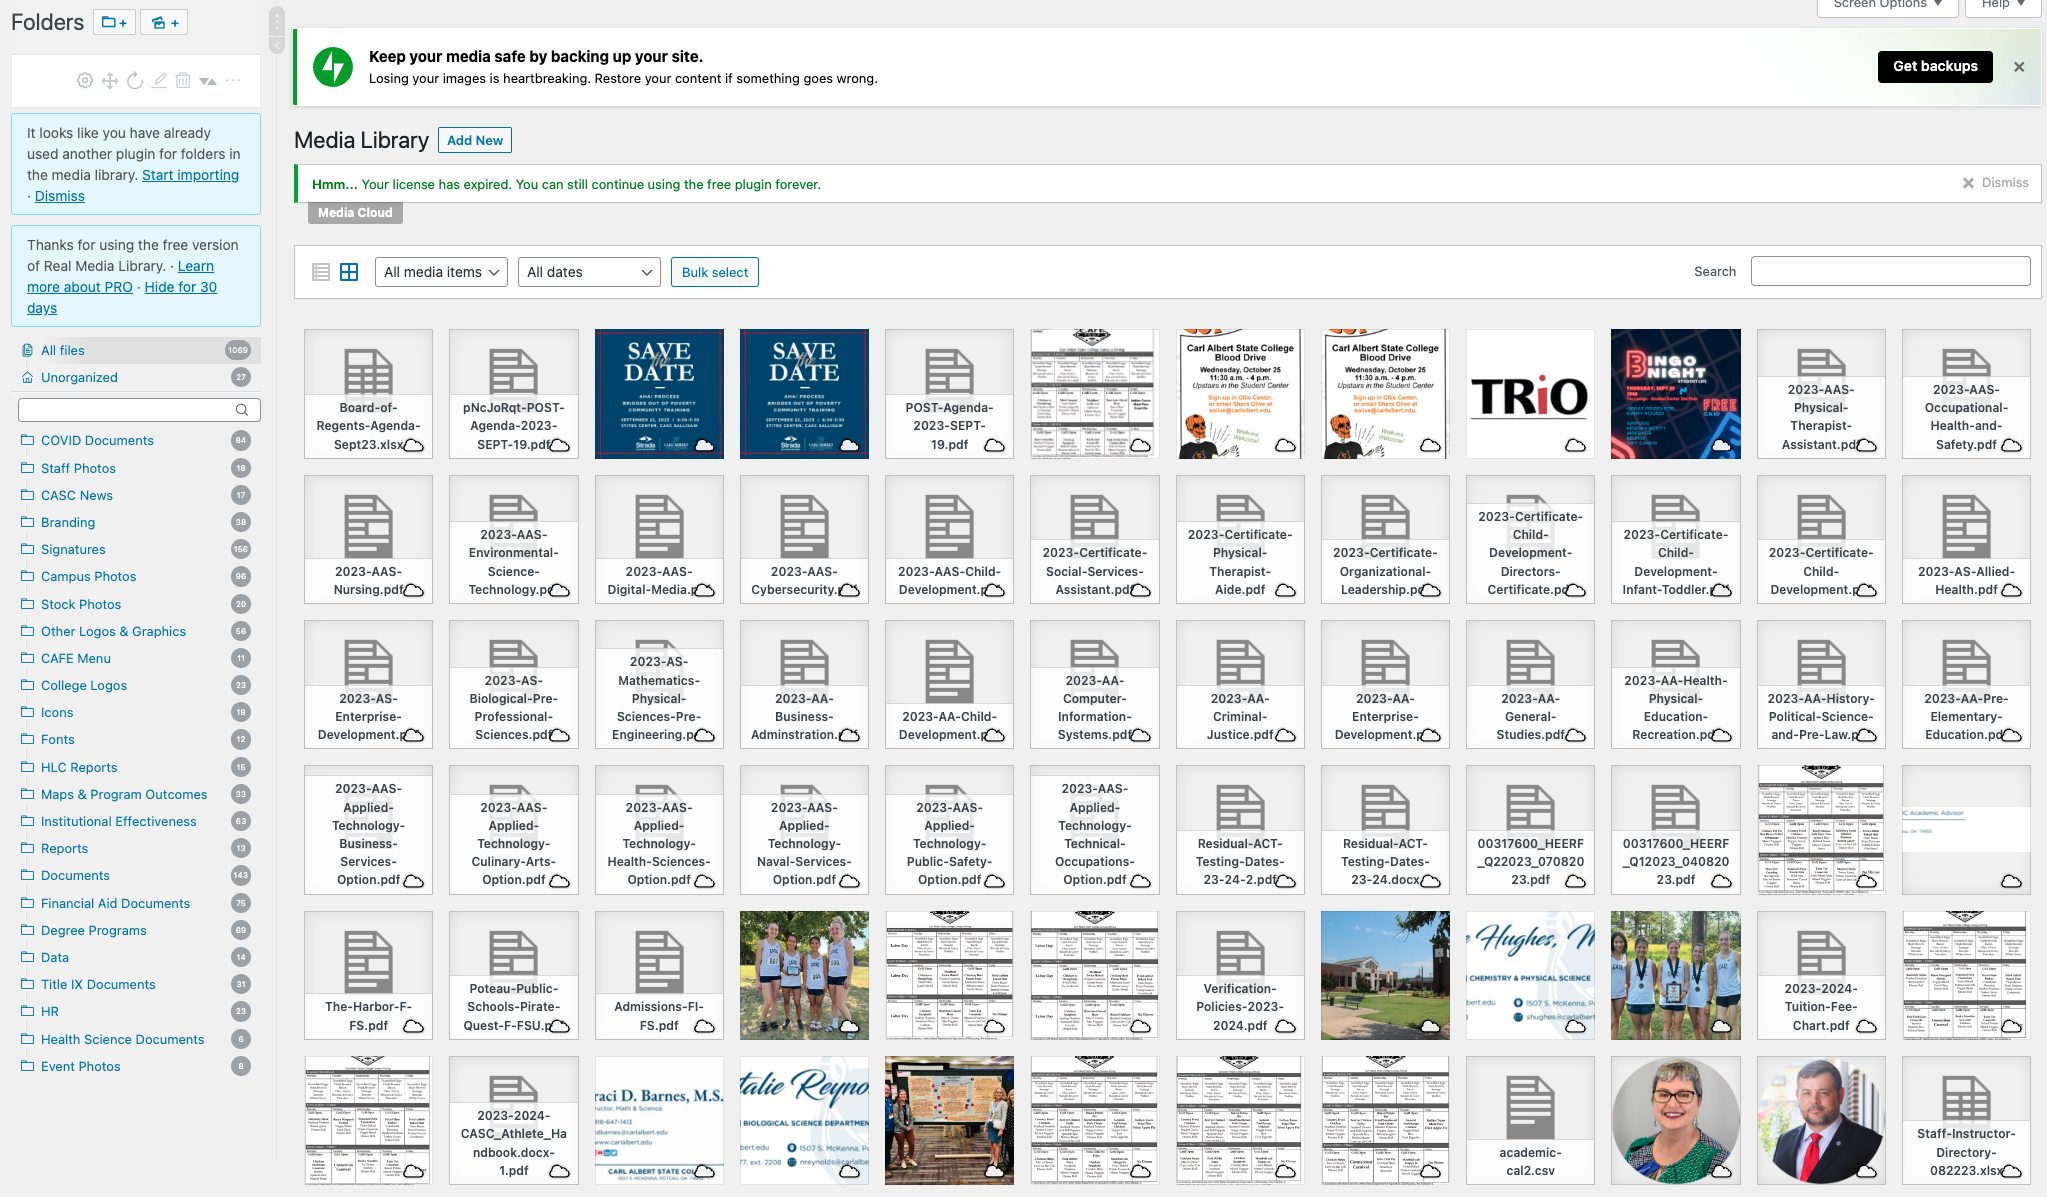
As you can see over on the left hand column here we have a number of folders that are already created. To create a folder you’re simply going to click on this little icon with a plus symbol and it will create a folder for you. Then you’ll just name that and it will add it to the list. For this purpose I’m just going to hit cancel.
Now to add items to folders you can do it one at a time or you can do it in bulk. To add one to a folder we’re going to grab this Trio logo and we’re going to add it to branding. I’m simply going to grab the Trio logo, then I find my branding folder and I’m going to drag it into that folder. In order to grab multiple we’re going to hit bulk select. We’re going to select all three of these Cafe menu photos and we’re going to drag that into Cafe menu. Those disappear, and go into the cafe menu folder. Likewise we’re going to grab the rest of the documents here that are in the unorganized folder and we’re going to grab all of those. We’re going to find our documents folder here on the left, we are going to grab all eight of these items and we’re going to drag that into the documents folder and that’s pretty much how we’re going to organize our photos and documents.
Now you can easily navigate each folder and see what photos/documents are in these folders. This also makes it easy to remove any older items that we don’t need anymore. For instance in the degree programs folder here we have a bunch of 2023 degree programs that are uploaded so we can go in here and delete the older degree programs that way it doesn’t continue to clutter the server up.
That’s a quick tutorial on how to use the media library.